
Recently there is lots of work around antique balances and weights to support a collector of these items, and recently a very unusual package showed up at my workshop, a set of old weights for restoration. Basic intention was to remove all grime and dirt by bead blasting, but surely we need to check if the weights are actually usable.
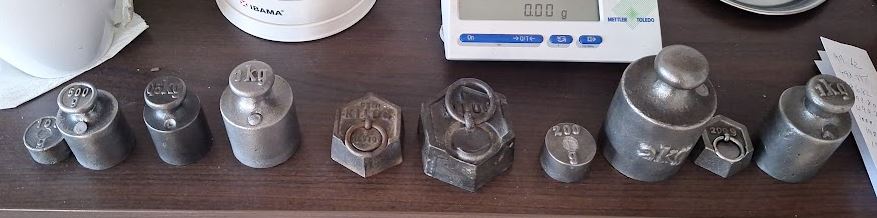
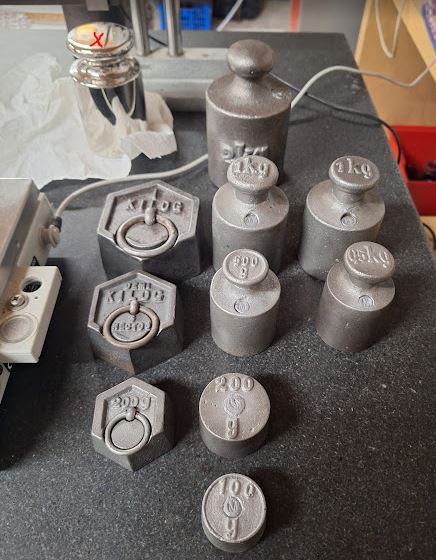
Some were of the traditional knob style, while others have a hexagonal shape and are adjusted with lead at the bottom.
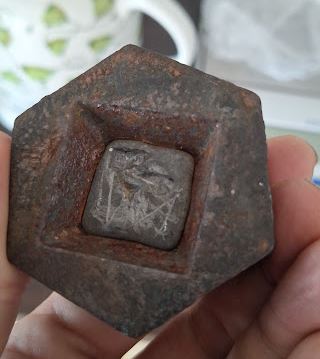
Unfortunately, except one that was heavy (with a lot of dirt on it), all were light. So we have to find a way to add mass to these pieces. Unfortunately, I couldn’t find any instructions how to do this, because all the modern weights cavities closed with screws or a plug of lead that can be hammered in, but these old-fashioned weights are lacking this feature. For the hexagonal weights, it is clear that we have to heat them and add more lead, but for the knob weights, let’s hope there is enough space inside to fit material for adjustment.
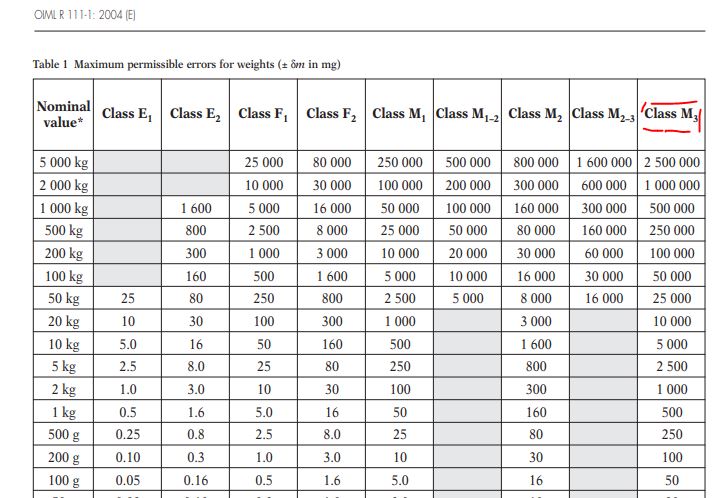
All the matters of weights are regulated in the OIML R111 rule: it says that adjustments must be made on this class of weights (“M” is the class for the not-so-accurate weights used for general trade and general use).
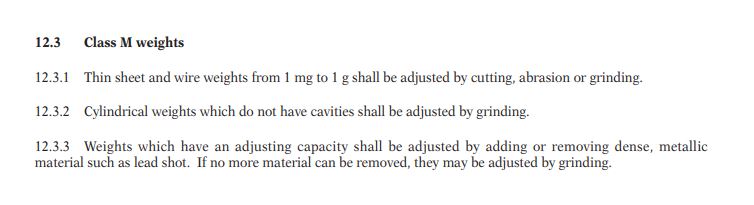
The adjustments should be made with heavy metallic material, like lead shot. After drilling open the lead caps of the old weights, and removing the remaining pieces with a screwdriver (it is enough to drill an approx. 6 mm hole and then remove the remaining material by a chisel or screwdriver – avoiding to drill into the cast iron ruining drills and taking time.
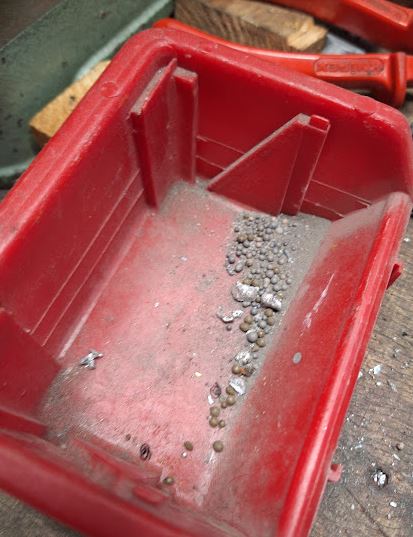
What I found inside was indeed some lead shot, but also dirt and sand and other lead pieces. I didn’t clean out all the weights but simply added some old lead fragments to get the weight up to the required range. This has to be done while accounting for the mass of the lead plug. This plug will take about 5 g of lead for the 500 g weights, about 7-8 g for the 1 kg and 2 kg weights.
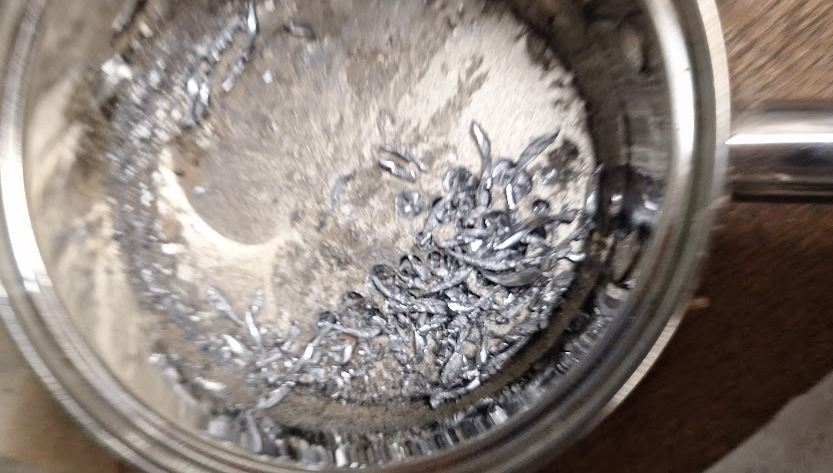
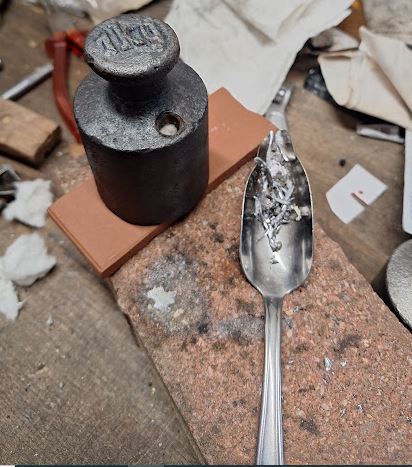
Various methods may exist to close the lead plug, by I found it the easiest way to first insert a little bit of glass wool and then pouring molten lead from an old spoon, heated over a gas flame.
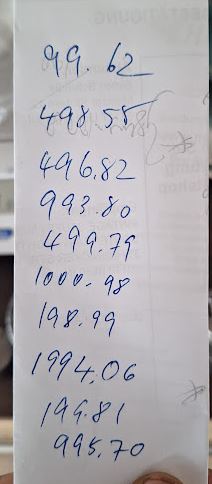
Best method seems to be to target a final weight a little, say 0.2-0.5 g above the target – closer if you have some practice. The allowable tolerances for M3 class weights – that’s the target I am following can be found in below table. Still my objective was to adjust these to +-0.01 g as much as possible by cutting away some lead from the plug after letting everything cool down.
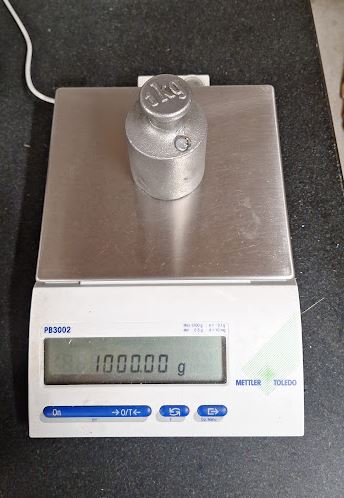
For the adjustment I used my good Mettler PB3002 balance, 3000 g capacity with 0.01 g resolution. Set up on my surface plate and calibrated with a 2 kg F1 class weights (+-10 mg at most). Also cross-checked the linearity at 500 g and couldn’t see any deviation (measuring as 500.00 g).
It is a little tedious to adjust all the weights but eventually all the pieces were done, and I also fixed some old weights I had for a long time (which were also light because of metal loss from severe rusting). Before the fine adjustment, the pieces were all glass bead blasted and thoroughly cleaned.
Finally, all the weights are done and double-checked. Frequently also put the 2 kg F calibration weight (upper left) to check for any drift, which was found to be absent. FOr the smaller weights, I used my analytical balance – the 100 g weight turned out to be exactly 100.0002 g, lucky!
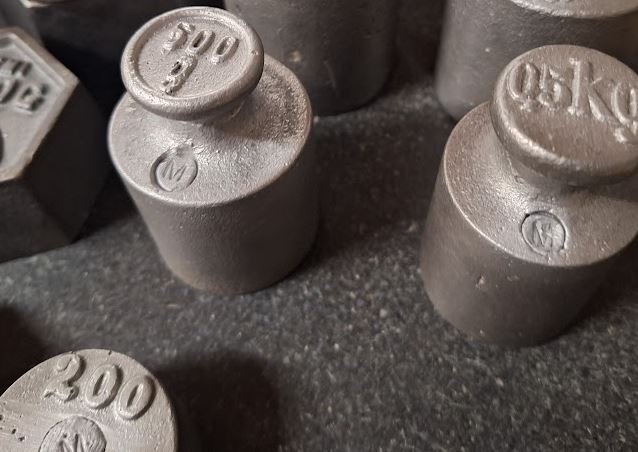
I can’t really stamp an official mark on these, so I used a letter “M” both to firmly compress the lead plug and to indicate the accuracy class of the weight. Supposedly, these weights will be handled in a kitchen so I made the lead plugs almost flat with the surface, rather than protruding, to avoid hand contact with lead. But by adjusting the lead quantity, it is easily adjustable.