
The next big task, moving the Saacke from the entrance area of my house, to the workshop building. Fortunately, there are no stairs and steps, essentially, flat ground, but moving a large 300 kg electric cabinet, and a 700 kg machine, it is no easy task if you don’t have the right tools

Eventually, with the help of a friend and a pallet jack, maneuvered it to the location, but getting the pallet our from underneath a the machine, difficult. In a large factory, you just lift it up by crane of forklift, pull out the pallet, and let it down slowly. Also, you could build a tripod or gantry, and use a hoist to lift it up, but it is all pretty dangerous and labor-intensive, because I don’t keep all kinds of structural steel here.

Eventually, I managed to tilt the machine enough with a small hydraulic car jack, put two heavy flat steel bars underneath (70×15 mm), and lifted it up on some wooden support alongside the pallet, just suspended about 5 mm above. This way, I could pull out the pallet, and then lower the machine done bit by bit, by tilting it, and lowering the support 1.5 cm at a time, to avoid undue tilting. Take care that the whole thing doesn’t shift, and keep you fingers and feet clear at all times!!!

Eventually, after about 2 hours, the machine is at its final place. I will probably screw it down with three bolts, so it won’t move after setting it exactly (I mean very exactly) level. It makes it much easier to work on an exactly level machine, because you can use an electronic level to adjust angles pretty accurately. The seller did take great care of packaging the cables and plugs, glad these were not damaged in transit, because fixing these plugs normally means to completely newly wiring them, and while they are still widely available, these industrial plugs don’t come cheap.
Now, to some basic repairs, to fix the damages inflicted on the machine during transport.

First thing, a wheel of the electric cabinet (which has 3 doors, so to open the doors, you need to move around the cabinet. One wheel completely broke, probably someone hit it onto some wall when loading the truck. Rather than buying 4 all new wheels for such old machine, I try to fix what I can from stock I have, rather than buying ready-made parts. After all, that’s one of the purposes to have a workshop rather than a warehouse full of spare parts.

I cut-off a piece of a 35 year old rod of polyamide that I had around since my childhood time, once found at a scrapyard… then some machining on the lathe, and, a very study wheel is ready and mounted!

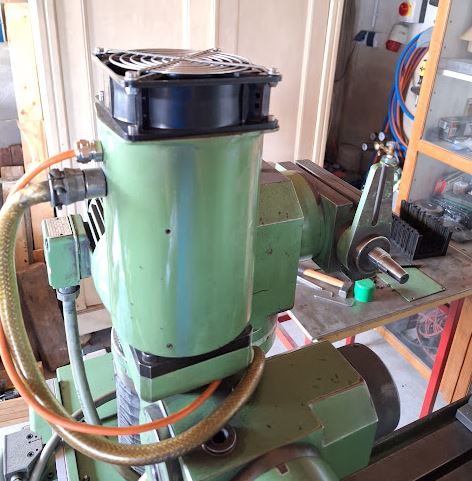
The fan of the table (X axis) drive, it really got damaged severely, fortunately, except some wire damage, the motor cover prevented further damage to the drive system, coupling, and, the very expensive ball screw that drives the table.

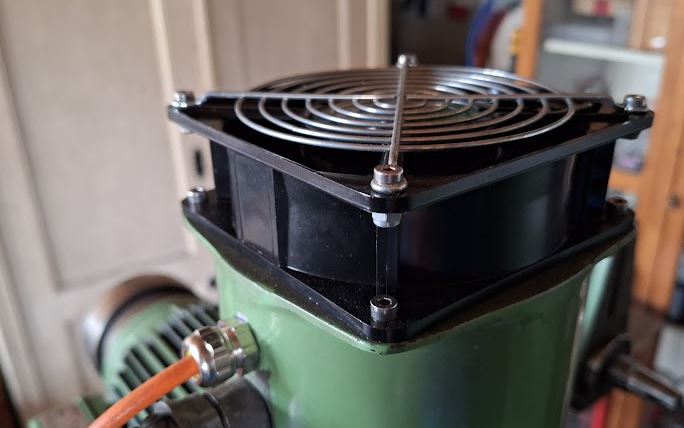
Most of these fans have their connectors at the outside, but the original one had been cabled to the inside of the cover. At least, I found a good replacement fan 112 m3/h nominal air capacity, run directly from 230 VAC mains.

Some disassembly of the connector, to get the wires exposed, some drilling.

Some soldering, shrink tubing has glue inside.

Still some need to adjust the cooling covers, but finally, got all the cables mounted and fiddled through. Also removed a few spoons full of grinding dust, and other dust.

Both the X and A (rotary) axis drives have new coolers.
Looking good, but the drives don’t even get that hot.
Next thing up for repair, the cover of the table.
Really terribly bent, taking it off was no easy task, drilling out one of the screws and taking great care not to damage the table.

To straighten it out, it took some patience, a vice, a polymer hammer, some pieces of wood.

Bending carefully, hammering it with quite some force, it is no thin metal but a pretty solid sheet. Amazing how crudely the carrier handled the shipment.

Some more knocking and bending.

Eventually, cleaned the plate and mounting surfaces with engine cleaner, still having some old cans around, but ordinary petroleum also works, and doesn’t attack plastic.

One great addition to the machine – a very nice German-made adjustable high-precision grinding vice, gifted to me by a relative. The vice has some little rust, but I will give it a good polish before using it on the grinding machine.
