For a special application that I can’t name here, we need to measure both deflection (length) with about 0.01 mm resolution, and force in the range of 200 N (=20 kg). The force measurement is needed with a few 10s of Hz of temporal resolution, for deflection ~10 Hz will be sufficient.
All this needs to be accomplished at a budget, so I decided to use a China load cell (20 kg range), with an HX711 converter board, and a digital micrometer dial (13 mm range, 0.01 mm resolution).
First, to the HX711. As per the datasheet, it can be run from an external clock source, not sure if this is necessary, but thought I give it a try. Spec range for the clock is up to 20 MHz (normally running at about 11 MHz), but the HX711 works well to 70 MHz and above. You don’t need to couple a lot of power, even at -10 dBm, it is still working. Anyway, by setting the clock control pin to HI, the HX711 will provide a data rate of 80 Hz. As with all analog-digital converters, there will be a trade-off for frequency vs. noise-free resolution, but for the application discussed here, even 10 bit would be enough, to serve the purpose.
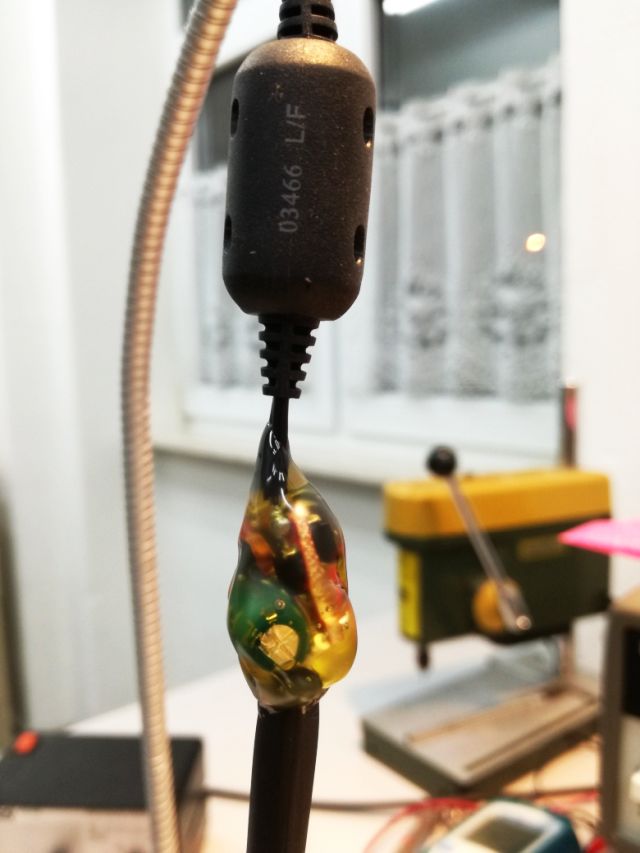
For the digital dial – unfortunately, the industry (the Chinese digital caliper and dial industry) has not yet come to a decision to use a commonly available connector to get the signal for a digital caliper or dial into a cable. At least, they offer various types of data protocols, and with not too much sense detective work, you can figure out how to interpret the data. I user a Micro-USB connector, carefully soldered to the data output pads of the micrometer dial.
Some small wires were used to connect the USB connector to the board, to allow for some movement, and to ensure longevity even in an environment that has vibration, and people connecting the USB cable with not much care.
The dial is running on 1.5 V (a single button cell), so we need a small converter board, using half of a MC3302P quad comparator, to convert the 1.5 V logic to good old 5 V TTL logic. You can use any type of comparator of logic conversion circuit, even a single transistor may work. Anyway, I didn’t want to load the dial any more than necessary, and to improve noise immunity, added a 20 MHz low-pass (330 Ohm with 22 pF) to the input.
Here the rising edges, logic conversion board input (blue), vs. output (yellow). For the faster traces, the internal pull-up resistors of the ATMega8 were enabled. Not much effect anyway.
All the data are collected by a ATMEGA8-16PU, and sent to a host PC via a 115.2k RS232 link. This allows even wireless connections, with a serial-to-RS232 converter. Data are send in one direction only, from the ATMEGA8 to the PC. All measurements have a 16 bit time stamp, using the ATMEGA8 16 bit timer.
The 8 bit timer of the ATMEGA8 is used to capture the data from the micrometer, which uses a synchronous clock to transmit data – the risking edge of the clock will trigger an interrupt, INT0, and the timer will ensure that each data Frame is received properly (the timer will overflow after each received data package, to signal that the next clock edge will be the start of a new data package).
The dial transmission pattern: one data block is send every ~100 ms.
Some detail of the timing, for the current dial indicator interface, data are valid at the rising edge of the clock.
For the last bit, there is no falling edge of the clock.
For “0” logic state, the dial interface pulls down the data line for each clock pulse, and then releases it again for high. Not sure why that is, maybe it saves some battery power?
The data is transmitted as binary number, 24 bit, 0.01 mm or 0.005″ per count. The last 4 bits are uses for status and indicate a “-” display, and mm vs. inch.
That’s the full pattern of a transmission sequence from the HX711. Blue is data, yellow is clock.
Timing – data line changes states quickly after the rising edge of the clock signal.
This is the final data stream as received. Notice the time-stamped load cell and dial transmissions.
For those interested, here is the MCU code (AVG-GCC): loadc_d0.c


